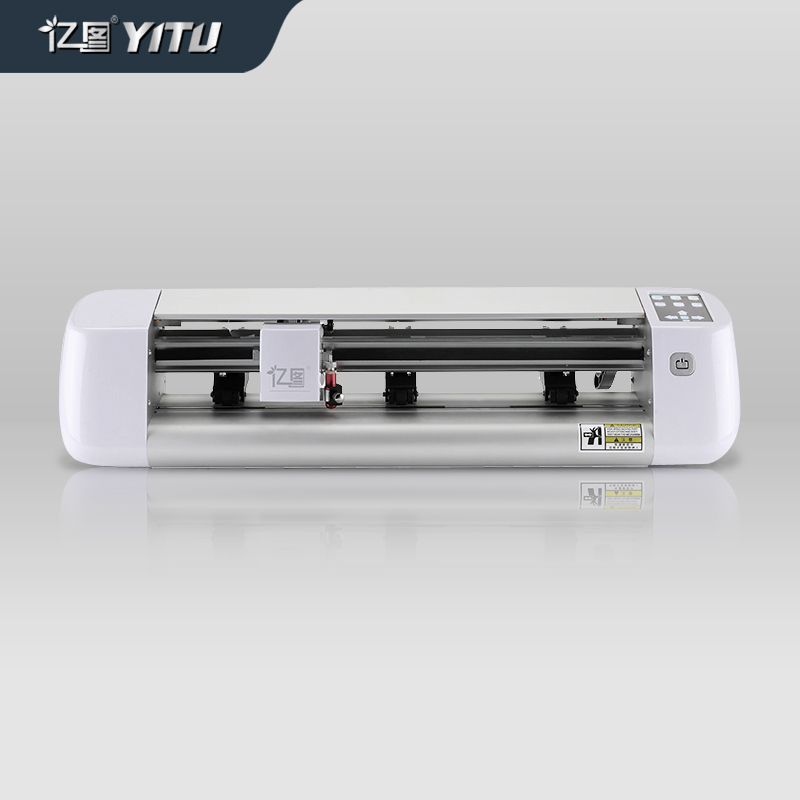
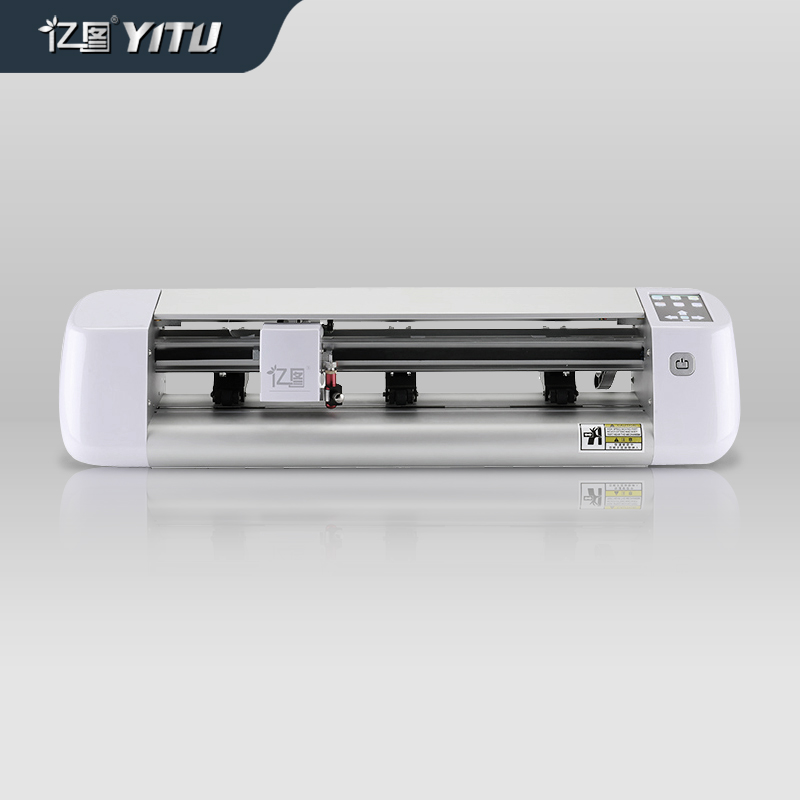
Computer engraving machineIt can intelligently depict designed patterns and characters, saving manpower and resources. After purchasing the engraving machine, we need to install it. Do you know how to install a computer engraving machine? Do you know the precautions? Here are some introductions and precautions for installing a computer engraving machine:

1. Open the packaging box and first clean the fixing tape and anti-collision objects of the computer engraving machine trolley< br>
2. Connect the computer engraving machine to the power outlet using the included power cord< br>
3. Connect the computer engraving machine to the computer using the randomly provided communication cable< br>
4. Insert the knife holder or pen holder into the computer engraving machine carriage knife holder, and tighten the fixed knife holder or pen holder< br>
5. Turn on the power supply< br>
6. Place the medium and lower the pressure roller (note: the pressure roller should be at the edge of the medium and not deviate from the working area)< br>
7. Set parameters (computer settings: A. Select model; b. Select port and set flow mode. Computer engraving machine settings: a. Set coordinate origin; b. Adjust tool depth, etc.)< br>
8. Computer engraving machine self test< br>
9. Data detection through computer transmission
Computer engraving machine,Ready for normal output.


 Whatsapp+86 189-2846-8873
 Service hotline+86 0755-89619695
 Email: yitu@yitucut.com
 WeChat consultation